 Besides your plaque, you will need; a level, a pencil, a 1/4" masonry bit and drill, two 1 1/2" to 2" #8 stainless steel screws, #8 plastic anchors, a screw driver and a hammer.
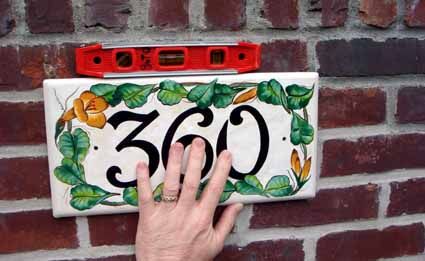
With the level on top of the plaque, level the plaque so that the 2 holes meet with the cement joints (if installing on brick) and not the brick (If possible, try not to drill into brick).
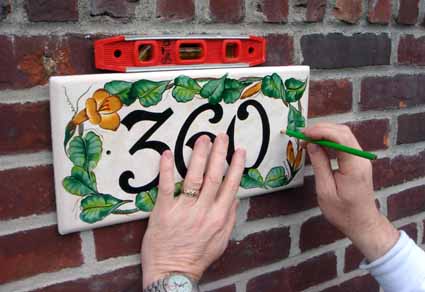
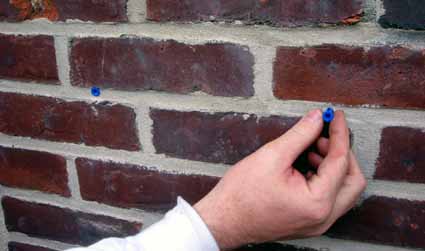
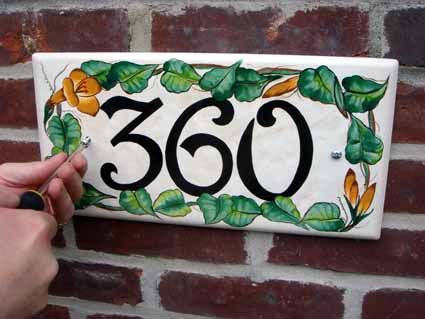
Still with the level on top of the plaque, insert the pencil into the two holes and make your mark
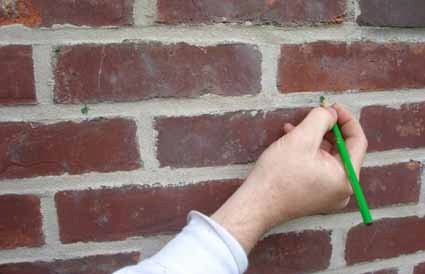
You should have two very visible pencil marks.
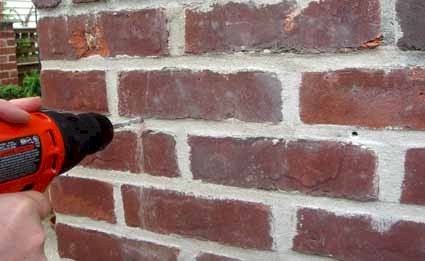
Using your 1/4" drill bit, drill your marks deep enough to fully accept the length your screw.
Insert your plastic anchors into holes (They should fit snug).
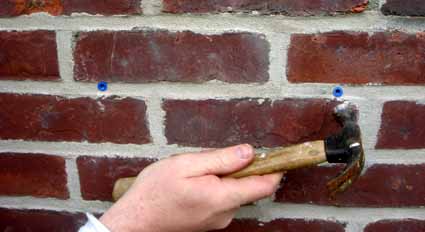
Use a hammer to gently give the anchors their final push in.
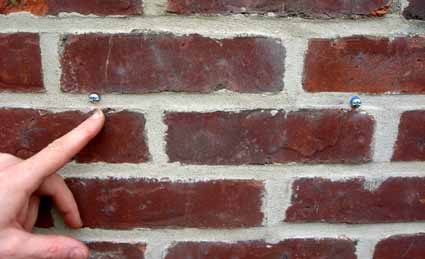
To make the final installation easier, Fully screw both screws into the holes to set the anchors. This will allow for a smoother installation of the plaque
Remove the screws and get ready to install your plaque
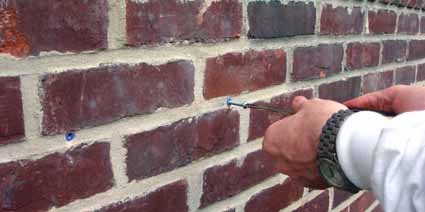
Using a screw driver, Line up the holes and install both screws half way.
Continue tightening, alternating screws, until they feel lightly snug.
Do not over tighten the screws, Your next turn might break the plaque.
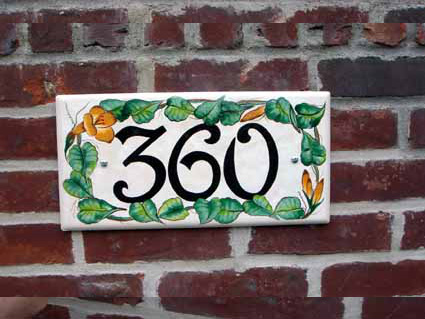
DONE!
